But with that, came the question:
Where can I get that delicious corrugated stuff?Sure there is a metric ton of plasticard sources and even metal corrugating machines, but I wanted something that I could source more easily and that would not waste much work space. And this is what I came up with:
The Corrugatemaster 6000
These are the materials you'll need:
- Box of matches (use safety matches for bigger sheets)
- 2 pieces of mdf or equivalent in resistance
- Greenstuff or milliput
- Sandpaper
- PVA Glue or Wood Glue
1. Trim enough matches to fill the 2 pieces of mdf completely.


2. Put some putty on the first piece of mdf, if you're unsure if the putty will stick, give it a brush of glue before applying the putty (don't be an idiot like me, spread the putty evenly)

3. Position each individual match making sure they have one (and only one) edge pointing up

4. Lightly sand the exposed matchsticks edges and seal each piece in PVA glue making sure some glue pools in between the matches

Variation:
Don't sand the matchsticks and be careful with PVA pooling in between the matches if you want corrugate sheets with straighter edges (in hindsight, this might have been the best choice for 15mm).
Extra Variation:
Use round toothpicks for an extra curved (albeit smaller) surface.
Now, to make the corrugated sheets, you'll need:
- Regular boring paper
- PVA Glue or Wood Glue
- Tinfoil
- Clamps
- The Corrugatemaster 6000
1. Grab a piece of paper and fold it in half and spread some PVA on the inside of the fold (don't overdo it)


2. Grab a bigger piece of tinfoil, fold it in half and put the glued piece of paper inside the tinfoil fold. The tinfoil is used to prevent gluing the paper to the matchsticks. I also tried parchment paper but there was a noticeable loss of detail.

3. Place everything in between the pieces of the thingamajig and put clamps on each side.

4. A couple of minutes of pressure and it's ready, be careful when disassembling everything.

5. Let it dry.
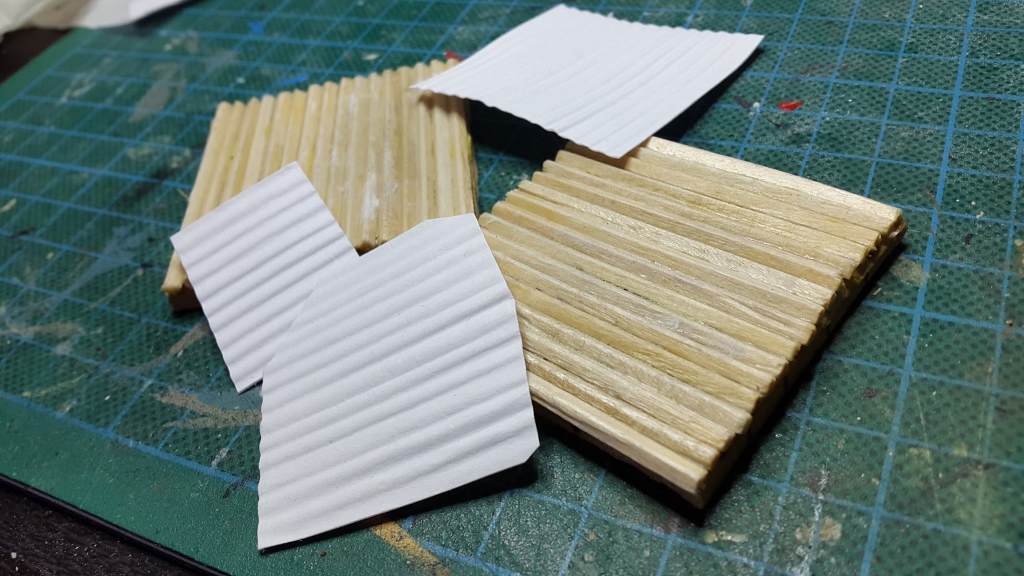
Some results.

And some wip terrain using those sheets


Hope you enjoyed reading as much as I had making this.